
After I recently learned how to use a sewing machine at an all-day bootcamp class, I ordered my own machine from Amazon. I knew that I wanted to reinforce the things I had learned as soon as possible, but I didn’t think that I would be able to finish anything useful in time for my current cosplay projects in progress. San Diego Comic-Con is less than a month away, and my remaining items include brown skinny jeans and a white jacket, both of which are too structurally complex for a total beginner.
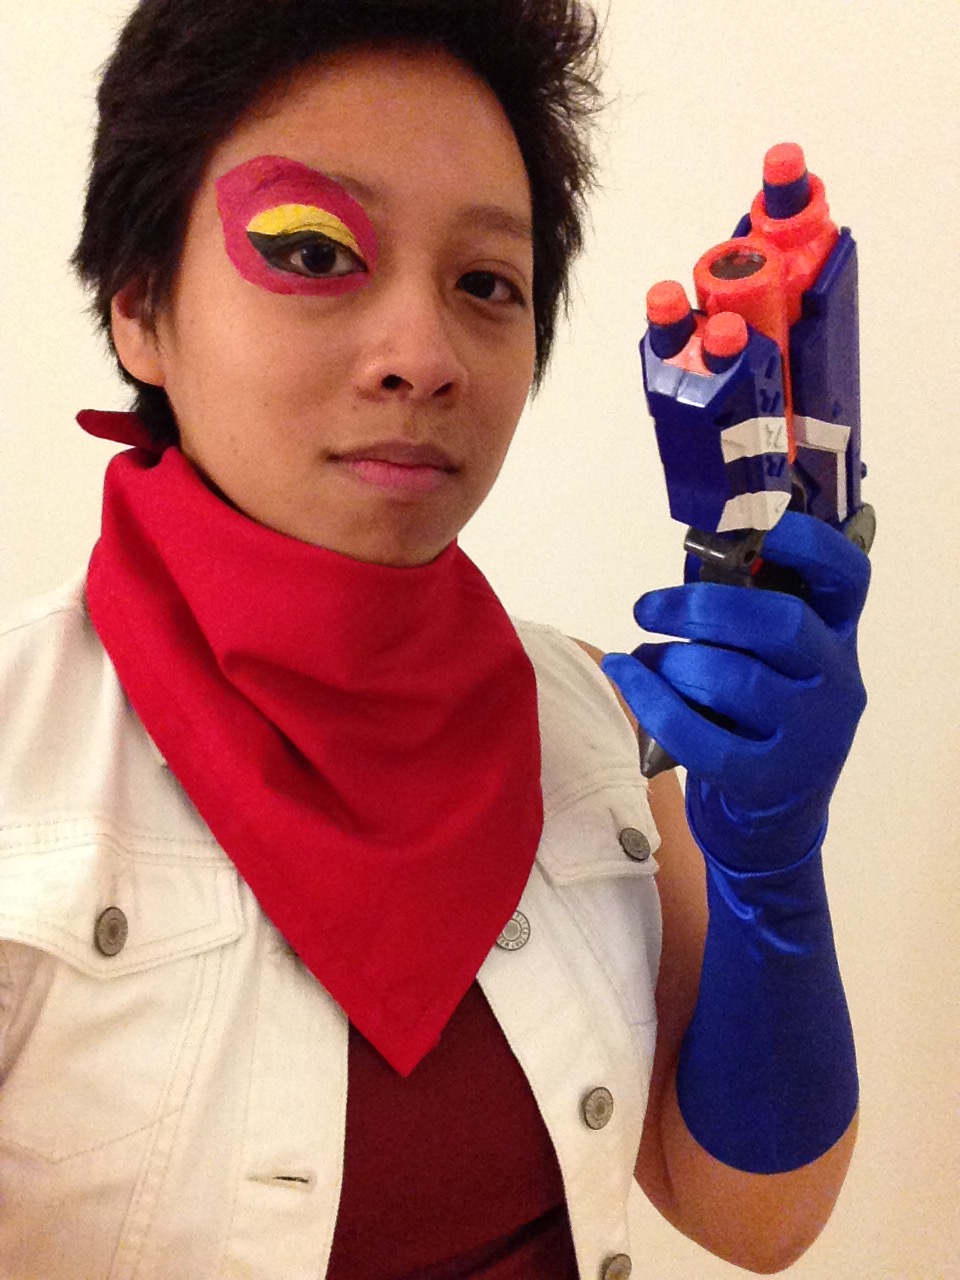
However, after unsuccessfully shopping for plain square scarves or handkerchiefs that were the right shade of red, I realized that I could buy some fabric, cut out the squares, and sew the edges to look neat and tidy. In Super Smash Bros. for Wii U, which is the character design that my roommate and I are using for reference, it looks like Fox and Falco wear the same color scarf as each other. (You can see this costume on the Fox amiibo.) Fox wears a military green jumpsuit, so that’s easy enough to match, but Falco wears a red one. It’s important for the sake of Falco’s costume to get the right shade of red so that the scarf is vivid but the jumpsuit doesn’t clash too badly.
I stopped by Britex Fabrics in the Financial District because I had a few spare minutes before attending a nearby conference. After accidentally browsing some $95/yard fabric near the entrance, I ventured farther into the store and found some 100% cotton fabrics that were much cheaper. I looked at probably two or three dozen different shades of red, most of which looked pretty much the same to me, so I chose based on price and how it felt like the fabric would drape when I wrapped a triangle around my neck as a scarf. A store employee helped me estimate how much material I would need for two scarves, then measured and cut a yard (around $12) for me.
A few nights later, when I finally got around to setting up my sewing machine on our kitchen table, I had difficulty threading the bobbin case. I did this once during the bootcamp class, but when I tried following the instruction manual, I struggled to translate the written instructions and simple line diagrams to real life. After watching a few different YouTube videos that explained other steps really well, but not my particular step, I gave up (bad idea!) and decided to just poke the thread where it looked vaguely right, and figure out later on whether it mattered.
Unsurprisingly, it did matter, so when I started feeding my scrap fabric through the machine to test it out, the bobbin thread kept bunching up and then breaking. This is apparently a common enough failure that it was included in my instruction manual’s one-page troubleshooting guide. At this point, I called my roommate over (“Hey, you can complete puzzle games where you rotate blocks, right? Can you help me rotate some real-life blocks?”) and together, we threaded the bobbin case successfully. Everything went pretty smoothly from that point on. I was able to back tack when starting and finishing my stitches, and when I got sloppy and let the fabric wander too far away from a straight line, I used a seam ripper to undo my mistake.
It took me a while to set up the machine, cut both squares of fabric, iron all eight edges, sew all eight hems, and tidy up my materials, but it was so incredibly satisfying to be able to produce exactly what I needed for our cosplay project. I’m glad I found a simple project to reinforce my new skills, and I’m looking forward to making something more challenging next time.
You can see what Falco looks like on Smashpedia.
